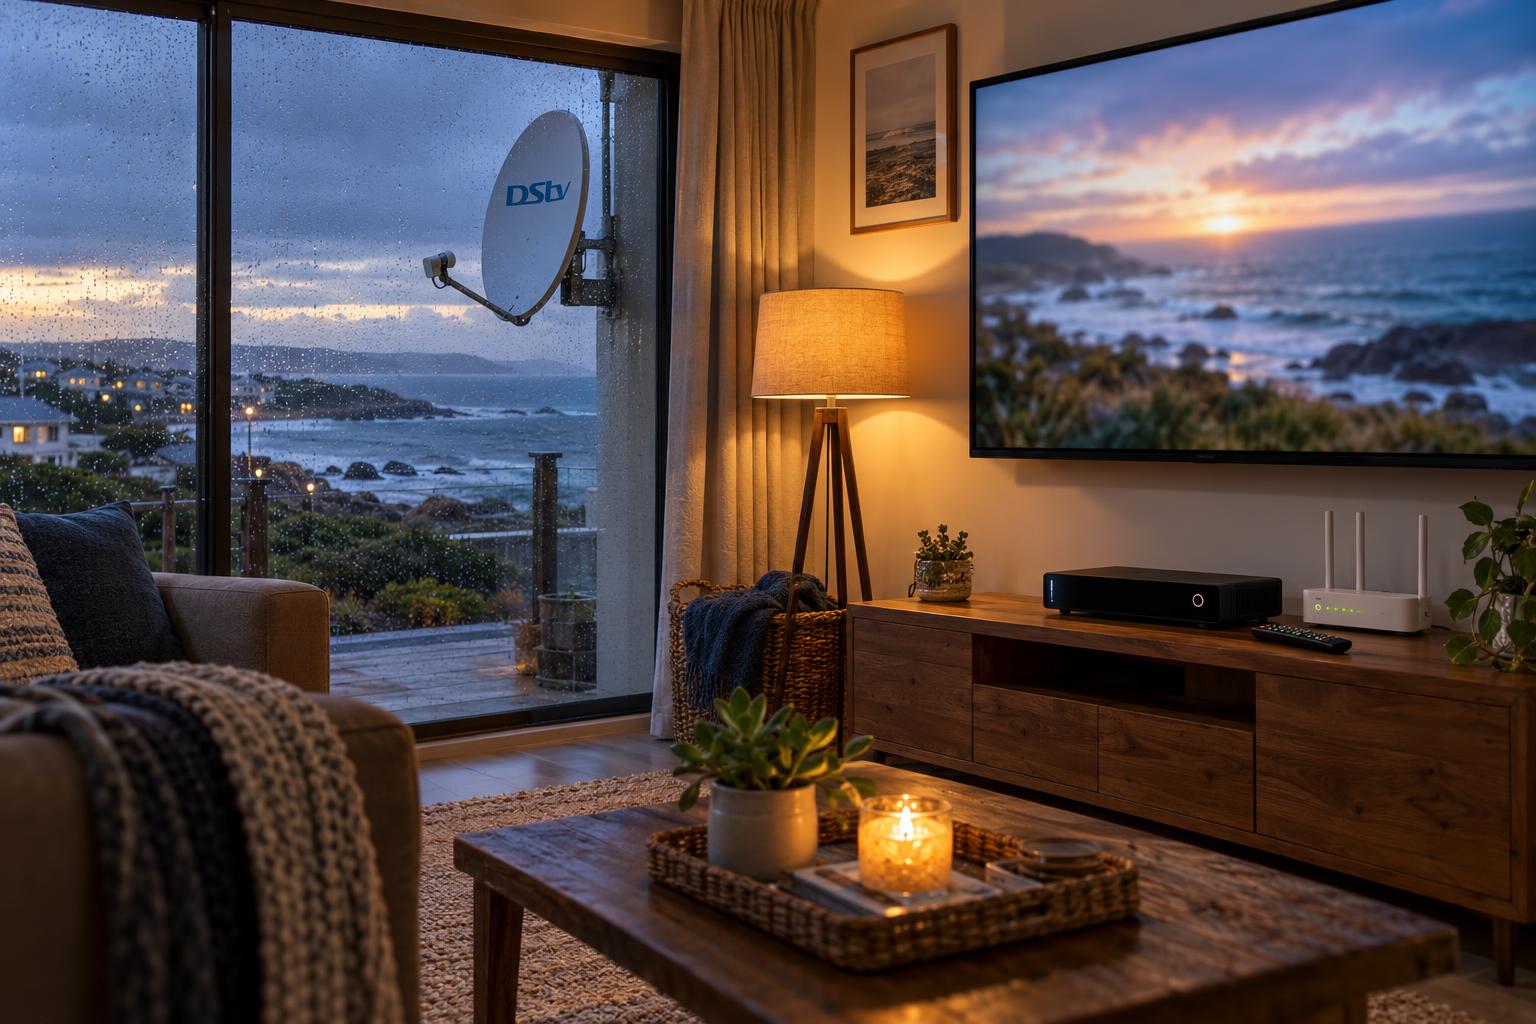
Quick answer: The simplest way to connect DStv Explora to WiFi Gansbaai homes can rely on is a network cable from the router. Older models can also use the DStv WiFi Connector, and the Explora Ultra has WiFi built in. Then run the Connectivity Checker and switch on Connected Services in Settings. If the link keeps dropping, the router is usually too far away or behind thick walls.
It is a windy Friday night on the Overberg coast. The rain is hitting the windows, the fire is lit, and you want to watch last night's episode on Catch Up. Live channels are fine, but Catch Up just spins. This guide shows how to connect DStv Explora to WiFi, and how to fix it when it drops.
We see this every week in Kleinbaai, De Kelders and Franskraal. The good news is that it is almost never a dish problem. It is a network problem, and most of it you can sort out yourself.
Why your Explora needs WiFi at all
Your Explora gets its programmes from two separate places. The satellite dish brings in live channels. Your internet line brings in everything streamed or downloaded, and that is the only reason to connect DStv Explora to WiFi.
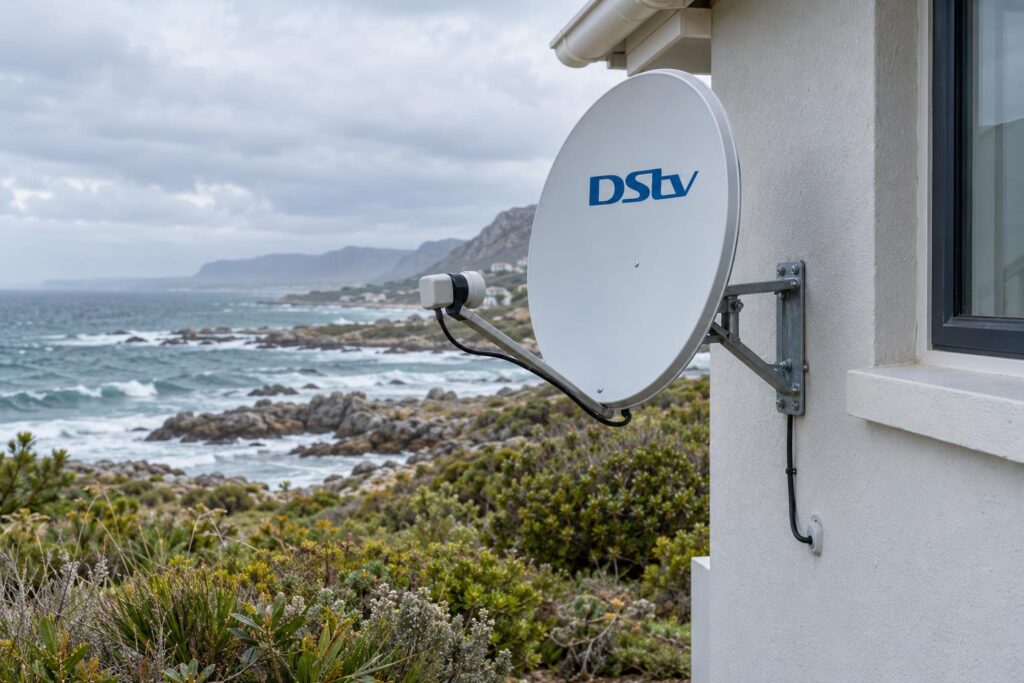
That is why a decoder can show live rugby perfectly while Catch Up refuses to load. If Catch Up is the only thing failing, our guide on DStv Catch Up not working goes deeper into the causes.
What still works without internet
- All live satellite channels in your package.
- Recording, pausing and rewinding live TV.
- Your saved recordings on the hard drive.
What needs the internet
- Catch Up and Box Sets.
- Showmax and other streaming on the decoder.
- Remote recording from the DStv app on your phone.
DStv's own connection guide says you need an uncapped internet line. It asks for at least 2Mbps for downloads and remote recording, 4Mbps for SD viewing and 10Mbps for the best HD experience.
Three ways to connect DStv Explora to WiFi
The right method depends on which decoder you have and where the router sits.
| Method | Works on | Best for | Watch out for |
|---|---|---|---|
| Network (Ethernet) cable | All Explora models | Router in the same room | Cable must be run neatly |
| DStv WiFi Connector | Older Explora models | Router in another room | Weak signal through thick walls |
| Built-in WiFi | Explora Ultra | Newer homes with good coverage | Same wall and distance limits |
Older Explora: cable or WiFi Connector
The older Explora has no wireless card inside. It needs either a cable to the router or the DStv WiFi Connector, which is DStv's own accessory.
Explora Ultra: WiFi is built in
The Explora Ultra came with WiFi and streaming apps built in. You only need the router name and password. If you are thinking of upgrading, our team handles DStv Explora and Ultra installation and gets the network working in the same visit.
Not sure which box suits your household? Our plain guide on choosing between Explora and Ultra sets out the differences.
How to connect DStv Explora to WiFi, step by step
These steps follow DStv's own instructions to connect DStv Explora to WiFi or a cable. Make sure the router is on and the internet is working on your phone before you start.
Option 1: a network cable
- Switch on the TV and the router.
- Plug the network cable into the green Ethernet port on the back of the Explora.
- Plug the other end into any free port on the router.
- Press the help button on the remote, choose Tools, then Connectivity Checker.
- Look for two green ticks: one for the router and one for the internet.
This is the most stable option. Other WiFi devices in the house cannot interfere with it. If the cable has to go through a wall or ceiling, our guide on DStv decoder cables and connections explains which cable goes where.
Option 2: the DStv WiFi Connector
- Place the Connector next to the Explora, not on top of it.
- Plug its power cable into a USB port on the back of the decoder.
- Wait for the white power light on the Connector.
- The setup wizard should open and scan for networks. Pick yours and press OK.
- Type the WiFi password with the remote. Press ALT for the on-screen keyboard.
- Let the decoder test the connection.
Some Connector versions use the WPS button instead. You press WPS on the router, then WPS on the Connector, and wait about 2 minutes for the WiFi light to go solid white.
Option 3: built-in WiFi on the Ultra
To connect DStv Explora to WiFi on the Ultra, open its network settings, choose your WiFi name and enter the password. Then run the Connectivity Checker the same way.
Last step: switch on Connected Services
Connected Services are off by default. Press the blue DStv button, go to Settings, then User Preferences, then Connected Services, and switch on what you want.
Explora still will not go online?
Our local team can test your router, decoder and cabling in one visit, from Gansbaai town to Pearly Beach.
Why the Explora WiFi keeps dropping in Gansbaai homes
Getting connected once is easy. Staying connected is where coastal homes struggle.
Thick walls and long houses
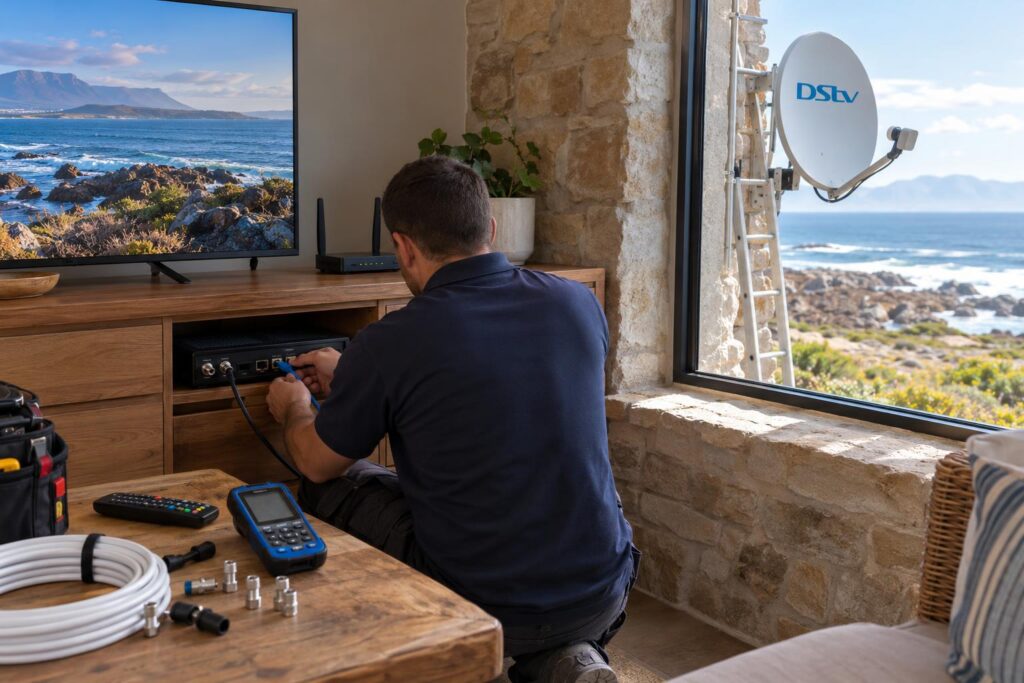
Many older homes in Gansbaai and De Kelders have solid stone or double brick walls. A single router in the study at one end of the house cannot push a strong signal to the lounge at the other end.
A connection that shows "connected" but keeps stalling is the classic sign. Our WiFi and fibre network service fixes this with properly placed access points or a cabled mesh system.
Power cuts and switched-off routers
When the power goes off, the router goes off. If the decoder runs on a backup battery, live channels may keep playing, but Catch Up stops until the router is back.
Holiday homes in Franskraal and Pearly Beach are often switched off at the mains between visits. The Explora then needs a few minutes after start-up, and sometimes an update, before streaming works again.
A new router or new password
A fibre upgrade or a new router from your internet provider changes the network name and password. The Explora still looks for the old network. You need to connect DStv Explora to WiFi again with the new details.
Local tip: Write your WiFi name and password on a label and stick it under the router. In holiday lets near Kleinbaai, this one habit saves a lot of weekend phone calls.
Fixes to try before you connect DStv Explora to WiFi again
Work from the router towards the decoder. Leave the factory reset for last. It clears your settings, and a weak signal will still be weak afterwards.
- Test the internet on your phone, standing next to the TV, on the same WiFi.
- Restart the router and wait until all its lights settle.
- Switch the Explora off at the wall for 30 seconds, then back on.
- Check that the WiFi Connector or network cable has not been knocked loose.
- Run the Connectivity Checker again from the help button.
- If the router test fails, connect DStv Explora to WiFi again with the correct password.
Reading the Connectivity Checker
- Router fails: the decoder cannot reach your router. Think password, distance or a loose cable.
- Router passes, internet fails: the problem is the internet line, not the decoder.
- Both pass, but Catch Up stalls: the signal is too weak or slow where the TV stands.
Moving a decoder between your main house and a weekend place on the Stanford road brings its own setup questions. We cover these in using your decoder at another house.
When WiFi is the wrong answer for your Explora
Sometimes the honest fix is not to connect DStv Explora to WiFi at all. It is a cable. When the lounge is at the far end of the house from the router, we usually run a network point to the TV instead.
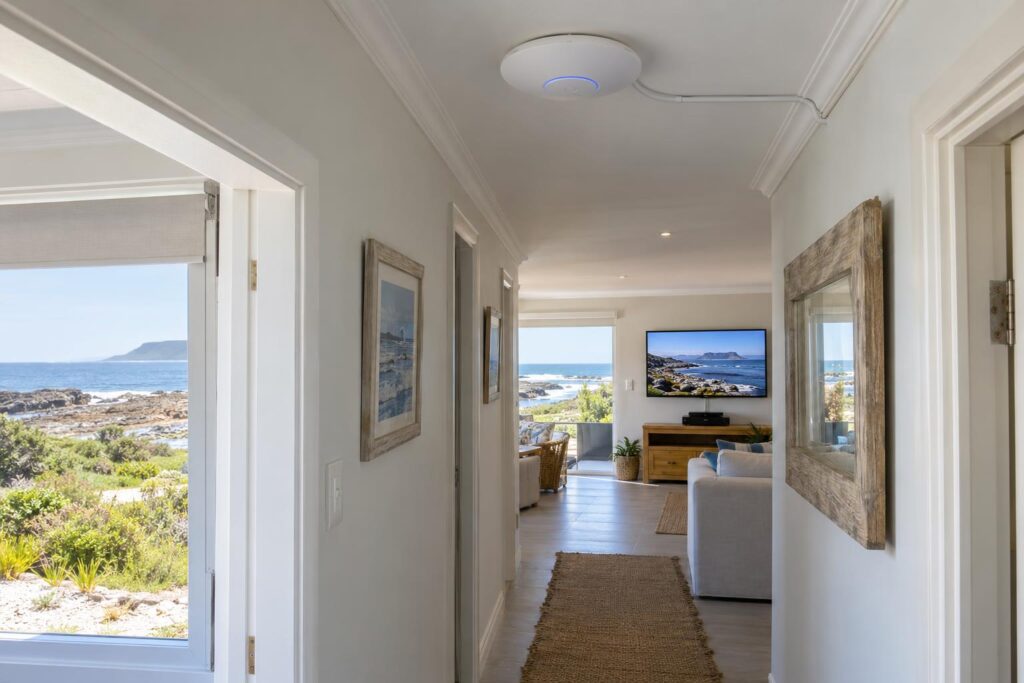
Cheap plug-in extenders rarely help here. They pass on a weak signal and often cut the speed in half. You end up with a decoder that says it is online while Showmax keeps buffering.
Homes in Masakhane, Kleinbaai and along the coast road all differ in layout and wall type. Our article on beating WiFi dead spots explains how we survey a house before we suggest anything.
If you are planning a new decoder, a new TV point or a full reinstall, it makes sense to plan the network at the same time. Our DStv installation in Gansbaai can include the network cable to the TV, so both feeds are sorted in one visit.
Signs you need a cable or an access point
- The WiFi bars on your phone drop near the TV.
- Catch Up works in the morning but buffers in the evening.
- The Explora drops off the network every few days.
- Your router sits in a cupboard at the far end of the house.
Explora WiFi checklist for coastal homes
Use this short list each time you connect DStv Explora to WiFi. It keeps the connection steady through the windy months.
Key points to keep your Explora online
- Connected Services switched on in Settings.
- Connectivity Checker shows two green ticks.
- Router placed in the open, not in a cupboard or behind the TV.
- WiFi name and password written down for guests and family.
- Router on backup power if you want streaming during power cuts.
- Network cable to the TV if the router is far away.
When everything here is ticked and the picture still drops, the problem is usually the network design, not the decoder. Our local DStv installers in Gansbaai can test both the satellite and the internet side in one go.
Once you connect DStv Explora to WiFi properly, live channels come from the dish and streaming comes from the router. Both should be strong where you sit.
Want your Explora online for good?
We check the router, the decoder and the cable route, then leave you with a connection that holds. Call or WhatsApp us for a quote.
Connect DStv Explora to WiFi: FAQs
How do I connect my DStv Explora to WiFi?
To connect DStv Explora to WiFi, use a network cable, the DStv WiFi Connector on older models, or the built-in WiFi on an Explora Ultra. Then run the Connectivity Checker from the help button. Finally, switch on Connected Services under Settings and User Preferences.
Can a DStv Explora connect to WiFi without the WiFi Connector?
The older Explora cannot connect wirelessly on its own. It needs the DStv WiFi Connector or a network cable. The Explora Ultra has WiFi built in, so it does not need the Connector.
Why is my DStv Explora not connecting to WiFi?
The most common causes are a wrong password, a new router, or a weak signal where the TV stands. Restart the router, check the cable or Connector, and run the Connectivity Checker. If the router test fails, rejoin the network with the correct details.
Will WiFi fix my E48-32 or no signal error?
No. Live channels come from the dish, so E48-32 is a satellite signal problem. WiFi only affects Catch Up, Showmax and other online features.
What internet speed does the Explora need?
DStv asks for an uncapped line. It needs at least 2Mbps for downloads and remote recording, 4Mbps for SD viewing and 10Mbps for the best HD experience.
Can I connect DStv Explora to WiFi in a holiday home?
Yes, as long as the house has a working internet line and the router is switched on. After the house has been closed, give the decoder a few minutes to reconnect and update. Rejoin the network if the router or password has changed.
Keep reading
Explora vs Ultra: which decoder is right for your home?
Two great boxes, two different homes. A plain-language guide to choosing between the DStv Explora and the newer…
SecurityWhat to Expect When a Home Security Camera Is Installed
From the site visit to the app handover, here's what happens when security cameras are installed at a…
SecurityHow Many Cameras Can a 16 Channel DVR Camera System Run?
A 16 channel DVR runs 16 wired cameras, and some hybrid models take a few IP cameras too.…